Paste Bolognese

Paste Bolognese
sursa: http://calatorii-si-bucatareli.blogspot.ro/2014/04/paste-bolognese_16.html


Pastele sunt, dintotdeauna, preferatele mele. De aceea nu imi pot imagina destinatie de vacanta mai buna ca Italia, cand vine vorba de mancare.

Desi prefer pastele cu sosuri albe, uneori imi este pofta de paste bolognese. Am incercat paste bolognese in multe locuri si, desi este o reteta clasica, le-am gasit destul de diferite de la un restaurant la altul. Uneori chiar m-au dezamagit.

Paste Bolognese

Am gasit de curand o reteta care se proclama "autentica", am incercat-o si am fost incantata de rezultat. Au fost cele mai bune paste bolognese pe care le-am mancat vreodata.

Nu uitati insa ca, in comparatie cu alte retete de paste, pastele bolognese necesita un timp mai lung de preparare, aproximativ doua ore. Eu le-am facut intr-o zi ploioasa...

Ingrediente:
  • 500 grame carne tocata de vita
  • 3 felii de bacon 
  • 300 grame de paste (ideal tagliatelle, eu am folosit insa fettuccine)
  • o ceapa mare, tocata
  • 2 catei de usturoi
  • 1 morcov ras
  • o jumatate de telina rasa
  • 2 linguri ulei de masline
  • o crenguta de rozmarin proaspat 
  • cateva frunze de busuioc
  • o frunza de dafin
  • 500 grame rosii tocate
  • 200 ml vin rosu
  • 50 grame parmezan ras 
  • sare, piper
Mod de preparare:

Taie feliile de bacon in fasii de aproximativ un centimetru si prajeste-le in doua linguri de ulei de masline. Adauga ceapa si usturoiul si prajeste-le pana se inmoaie. Adauga frunzele de rozmarin taiate marunt si frunza de dafin, morcovul si telina. Cand legumele incep sa se inmoaie adauga carnea de vita. Prajeste pana se rumeneste carnea, apoi adauga vinul. Asezoneaza cu sare si piper. Lasa suficient de mult timp, pana cand carnea este gatita (cam o ora si jumatate), fara ca vinul sa isi reduca volumul mai mult de jumatate. Adauga apoi si rosiile, si mai lasa aproximativ 10 minute.

Separat fierbe pastele in apa cu sare, dupa instructiunile de pe ambalaj. Cand sunt gata scurge-le intr-o sita si imparte-le in farfurii. Adauga sosul. La sfarsit presara parmezan, piper si decoreaza cu frunze de busuioc.

Eu eram asa de nerabdatoare sa le gust, incat am uitat si sa adaug parmezanul in prima faza. Abia mi-a mai stat mintea la fotografii, am trecut imediat la masa...

Pofta buna! 

Paste Bolognese

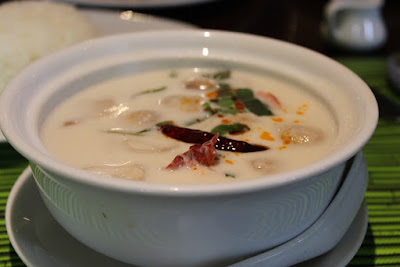
Cea mai buna supa care exista - Tom Kha Gai

Tom Kha Gai


Eu cred ca Tom Kha Gai este cea mai buna supa din lume. O sa zici ca exagerez, dar asta numai daca nu ai incercat-o inca. Este o supa foarte aromata si de regula picanta, una dintre minunatiile bucatariei thailandeze.

In traducere Tom Kha Gai inseamna fiertura de galangal si pui. Galangalul este o planta specifica Asiei de Sud Est, din familia ghimbirului si seamana la prima vedere cu ghimbirul. Difera insa la gust. Problema este ca deocamdata este greu, daca nu imposibil, de gasit in Romania (noi nu am gasit niciodata), dar se poate comanda pe internet de pe site-uri englezesti cu livrare in Romania. De-a lungul timpului noi am comandat galangal din Marea Britanie (supa noastra ajungand astfel nu numai cea mai buna, dar si cea mai scumpa din lume :-)), sau ne-am adus cantitati mai maricele de galangal din vacanta, galangal pe care l-am congelat apoi. Si nu e musai sa il aduci din vacanta din Asia, caci vei gasi galangal si in Europa! Eu, de cand locuiesc in Bratislava, nu mai am o problema in aprovizionarea cu galangal. Daca am noroc il gasesc proaspat in anumite magazine, insa il gasesc cu siguranta congelat in magazine cu produse asiatice. Asta ma face sa sper ca in curand se va gasi si pe la noi.

In plus vei mai avea nevoie de lemongrass (care a inceput sa se gaseasca in supermarket) si frunze de kaffir lime (acestea se gasesc mai greu, dar poti comanda frunze de kaffir lime uscate de pe site-uri romanesti). Procurarea restului de ingrediente nu ar trebui sa fie o problema.

Tom Kha Gai

Ingrediente (pentru 4-6 portii):

  • 600 g de pui (pulpe de pui dezosate sau piept de pui), taiat cubulete
  • 500 g ciuperci champignon, taiate in jumatati sau sferturi, depinde de marime
  • 3 radacini de galangal, taiate rondele subtiri
  • 3 fire de lemongrass, partea alba, taiate in felii diagonale subtiri si zdrobite cu latul cutitului pentru a isi dezvalui aroma
  • 10 frunze de kaffir lime (rulate si presate, pentru a isi elibera aroma, in cazul in care folosesti frunze proaspete)
  • 1 esalota (sau 1 ceapa rosie) taiata in bucati mari
  • 1 cub de concentrat de supa de pui (sau, mai bine, o carcasa de pui)
  • 1 borcanel sau plic pasta Tom Kha (optional, daca gasesti in supermarket sau magazin cu produse asiatice, accentueaza gustul)
  • 800 grame de lapte de cocos
  • 2 linguri de sos de peste (sau sos de soia, sau sare)
  • zeama de la 1-2 limes
  • 1-2 linguri de zahar
  • ardei iute dupa gust (eu nu folosesc mai mult de un ardei iute, dar poti pune mai mult, daca rezisti) fara seminte, taiat felii foarte subtiri
  • 1 lingurita rasa de pasta de chilli (optional)
  • o mana de fire de chives (arpagic)
  • o mana de frunze de coriandru
    Tom Kha Gai

    Mod de preparare:

    Pune la fiert galangalul, lemongrass-ul, esalota si frunzele de kaffir lime in aproximativ 1.2 l de apa. Adauga cubul de concentrat de pui sau carcasa de pui (daca ai ales aceasta varianta). Lasa-le sa fiarba (15 minute daca sunt numai legume sau mai mult daca folosesti carcasa de pui) apoi strecoara bine zeama obtinuta pe care o vei folosi in continuare la supa. Legumele fierte se arunca deci, nu raman in supa! Vestea buna este ca poti face cantitati mai mari de stock, nu numai pentru o supa, pe care il poti congela in pungi de plastic, prepararea Tom Kha Gai devenind ulterior usoara si rapida.

    Pune la fiert 400 grame de lapte de cocos. Adauga cuburile de pulpe sau piept de pui si, dupa ce au fiert cinci minute, adauga si ciupercile si ardeiul iute, lasandu-le sa fiarba alte 3 minute. Adauga 1 litru de stock, zeama de lime, zaharul, sosul de peste, pasta Tom Kha si restul de 400 de grame de lapte de cocos. Lasa-le sa mai fiarba impreuna cam 5 minute. La final adauga pasta de chilli, firele de chives taiate in bucati de aproximativ 3 cm si serveste in farfurii ornate cu frunze de coriandru.

    Iti recomand sa gusti preparatul inainte de finalizare, pentru a te asigura de echilibrul perfect intre gustul dulce, sarat, acru si iute al supei. Vei avea sansa sa ajustezi cantitatile de ingrediente responsabile pentru fiecare dintre aceste gusturi.


    Pofta buna!

    Tom Kha Gai reteta

    How To Make Greek-Style Lemon Chicken and Potatoes


    How To Make Greek-Style Lemon Chicken and Potatoes


    My love affair with Mediterranean-style chicken and potatoes began with the Sorrento Lemon Chicken from Gio's Chicken Amalfitano in Atlanta. This juicy baked chicken has golden, crisp skin and is served with herbed potatoes bathed in a luscious lemony broth.
    I've spent the last several years baking this dish for family and friends on weeknights and for special occasions. Although the inspiration was an Italian affair, my most recent, and dare I say favorite, iteration of this dish has a distinctly Greek flair.
    (Image credit: Lauren Volo)

    How to Make the Most Amazing Greek Lemon Chicken

    Kotopoulo Psito Lemonata is a classic Greek dish. To prepare it, the cook rubs a whole chicken with dried herbs like oregano and marjoram, garlic, olive oil, and lemon juice and then nestles it onto a bed of potatoes where it is baked until golden, tender, and juicy. The lemon is always present when roasting Greek-style chicken to brighten the dish and add a subtle punch of acid.
    Here's how to get the most out of your lemons and make the best Greek-style roast chicken and potatoes.

    1. Buy the best lemons you can.

    Choose organic lemons for this recipe if possible. The zest is such a significant element in the oil and the seasoning rub. Make sure each lemon is thoroughly washed and dried before peeling, zesting, and juicing.

    2. Quickly infuse the olive oil with the lemon.

    Infusing olive oil sounds special and fancy, but it is truly simple. First, remove the yellow outer peel of the lemon with a vegetable peeler. Make sure you shave off any white pith that remains attached to the zest or else a bitter flavor will infuse the oil. Next, warm the pieces of zest in olive oil until fragrant. That's it! After a short warming, the oil will be deeply scented with the lemon oil from the peel.

    Can you store the lemon oil?

    The simple answer is no. Botulism is always a concern when dealing with infused oils, so prepare only as much oil as you need to cook this recipe, storing it in the fridge between steps.
    (Image credit: Lauren Volo)

    3. Use chicken pieces instead of a whole chicken.

    Traditional Greek recipes for chicken and potatoes call for roasting a whole bird. But for this recipe we're going with bone-in, skin-on chicken breasts and thighs because they are easier to manage and quicker to cook.
    Besides, bone-in, skin-on pieces feel like a hidden gem next to the more common boneless skinless cuts. Not only are they significantly less costly, but the bone and skin also protect the meat from the oven's heat and give you a broader margin of error when cooking. The bone insulates the meat, raises it off of the hot pan, and moderates the cooking process.
    Chicken is always more juicy and flavorful when baked with the skin because the fat underneath bastes the meat during cooking, while the crisp skin provides a nice textural contrast.

    4. Use the best potatoes for this dish: Yukon Gold.

    The chicken in this recipes is pretty incredible, but good potatoes have a way of always stealing the spotlight and these are no exception. They develop a golden, herbaceous crust that surrounds a buttery, creamy interior that's full of the flavors of the lemony pan drippings.
    When I began to make the dish my own, I used starchy russets just as Gio's does. I found that although it absorbed the lemony broth, the spuds fell apart too easily and could be overly dry and mealy. So after many iterations, I swapped the russets for Yukon Golds.
    This is the potato you'll find in my cupboard any day of the year. It is a medium-starch potato and therefore can be used for just about everything. I love the creamy mouthfeel and buttery flavor. These potatoes hold their shape when baked, resulting in a delightful crust with an unbelievably creamy texture that soaks up all of the savory lemony broth.


    I MADE THIS

    How To Make Greek Chicken and Potatoes

    Serves 4

    What You Need

    IngredientsFor the lemon-infused oil:1 large lemon, preferably organic 
    1/4 cup olive oil
    For the chicken:2 large lemons, preferably organic 
    1 clove garlic, minced
    2 teaspoons kosher salt
    2 teaspoons dried oregano
    1/2 teaspoon freshly ground black pepper
    1/2 teaspoon dried marjoram
    2 bone-in, skin-on chicken breasts (1 1/2 to 2 pounds total) 
    2 bone-in, skin-on chicken thighs (1 pound total)
    For the potatoes:1 to 1 1/2 pounds small Yukon Gold potatoes, cut into eighths
    2 teaspoons dried oregano
    1 teaspoon kosher salt
    1/2 teaspoon dried marjoram
    1/4 teaspoon freshly ground black pepper
    For the broth and toppings:1/3 cup low-sodium chicken broth
    1/4 teaspoon kosher salt
    2 ounces sheep's milk feta cheese, crumbled
    1/4 cup pitted kalamata olives, halved lengthwise
    EquipmentVegetable peeler
    Microplane
    Small saucepan or frying pan
    Instant-read thermometer
    Whisk
    Mixing bowls
    Rimmed baking sheet

    Instructions

    1. Infuse the oil: Use a vegetable peeler to remove the zest of the lemon in large strips. Trim any bitter white pith remaining under the strips of zest. Place the lemon peels and oil in a small saucepan or frying pan over low heat until warm (about 180°F). This is a gentle flavor infusion, so the zest should not sizzle, nor should the oil bubble. Cook until fragrant, 5 to 10 minutes. Remove from the heat and set aside to cool for 10 minutes. Remove the zest from the oil and discard; set the oil aside.
    2. Season the chicken: Zest both lemons with a Microplane to yield 2 tablespoons of finely grated zest. Thinly slice 1/2 of one of the zested lemons, removing the seeds. Juice the remaining 1 1/2 zested lemons to yield 1/4 cup of juice; set aside for the lemony broth. Mix the lemon zest, garlic, salt, oregano, pepper, and marjoram together in a small bowl. Sprinkle onto the chicken and rub in. Set aside at room temperature for 30 minutes or refrigerate for up to 24 hours.
    3. Season the potatoes: Arrange a rack in the middle of the oven and heat to 400°F. Place the potatoes, 1 tablespoon of the infused olive oil, oregano, salt, marjoram, and pepper in a medium bowl and toss to combine.
    4. Roast the chicken and potatoes: Coat a rimmed baking sheet with 1 tablespoon of the infused oil. Scatter the potatoes cut-side down over half of the prepared baking sheet. Arrange the chicken pieces skin-side up on the other half of the baking sheet. Distribute the reserved lemon slices over and around the chicken pieces. Bake 20 minutes. Flip the potatoes, then continue roasting until the chicken registers 165°F on an instant-read thermometer, about 25 minutes more. Meanwhile, prepare the broth.
    5. Prepare the broth: Whisk the remaining 4 teaspoons of infused oil, reserved 1/4 cup lemon juice, chicken broth, and salt together in a small bowl.
    6. Broil to crisp the chicken skin: Pour the lemony broth onto the baking sheet and turn the oven to broil. Broil until the chicken skin is browned and crisp, 1 to 3 minutes.
    7. Serve: Serve the chicken with the potato wedges and caramelized lemon slices. Pour lemony drippings from the pan over each serving and top with the feta cheese and olives.

    Recipe Notes

    Italian Table Talks: olive trees, olive oil and dried black olives


    Italian Table Talks: olive trees, olive oil and dried black olives


    Extra virgin olive oil, or just olive oil. Hard to say what it is for me, what it means for our gastronomic tradition without falling into an elegy or writing a mini encyclopedia, with cross-references and footnotes. Perhaps, more simply, I would say that olive oil is for me daily life. It is the bottle that has earned the right to a place of honor in the cupboard. The bread and the olive oil when you feel rather peckish and want to end the meal with something comforting. It is a good drizzle of olive oil over a steaming hot vegetable soup or our pappa al pomodoro. I use it generously during my cooking classes, because the secret is all there. To paraphrase Julia Child, we could say that the olive oil makes everything better (of course the butter has its merits as well!).
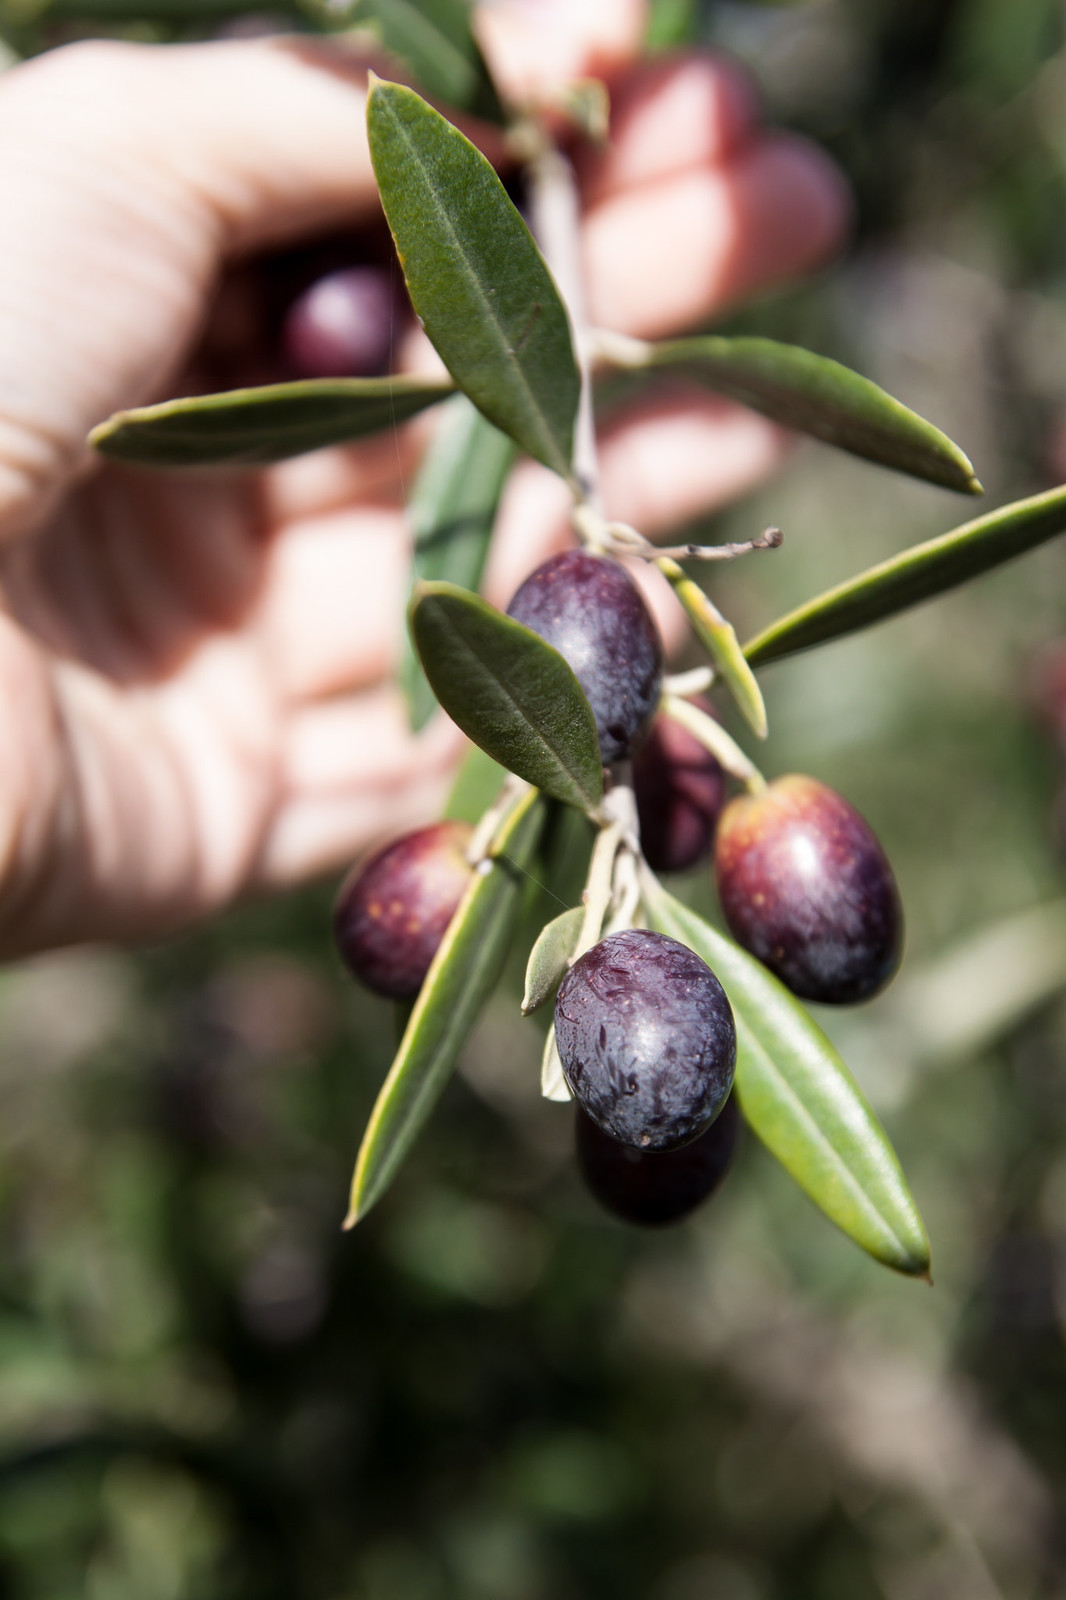
    Besides the olive oil, the olive trees. These are trees that may seem stern, though they generously make unique our Tuscan hills – and the Italian and the Mediterranean ones – creating a landscape that you immediately recognize as home. Gnarled yet elegant with their silver and bitter leaves, they are often ancient trees that have lived the history of our country, they embody symbols, traditions, legends, religious and pagan beliefs. The olive trees represent for us a symbol of peace, but they are also the tangible sign of the culture of the peasant labour, the patient work on a loved and  beautiful landscape.
    So we tried. We love olive oil and we chose it as theme of our Italian Table Talk for this month along with olives and olive trees, since November is traditionally the month of the olive harvest and new leafy green olive oil. Undeniably a difficult task, but perhaps we can give you a little account of what olive oil means for us and the importance it has in our every day lives, not just in the kitchen.
    Emiko then offers us a tasty Tuscan dish, coniglio con le olive, you would want to lick the plate clean. Valeria makes a sauce from Piedmont, a comforting dream in the cold months, bagnet verd. Jasmine is instead offering us a sweet end to our virtual lunch, a Jewish crostata made with olive oil. As for me, I’ll tell you what my great grandparents used to make with a few black olives saved from the olive milling.
    – This year it yields of the fourteen.
    – Really? It yields of the eleven to me, just eleven…
    – I heard Giovanni’s olives yield of the eighteen!
    These are the speeches that you can hear at the olive oil mill, and they are always made in a low voice of course. But before you can get to the mill the road is long.
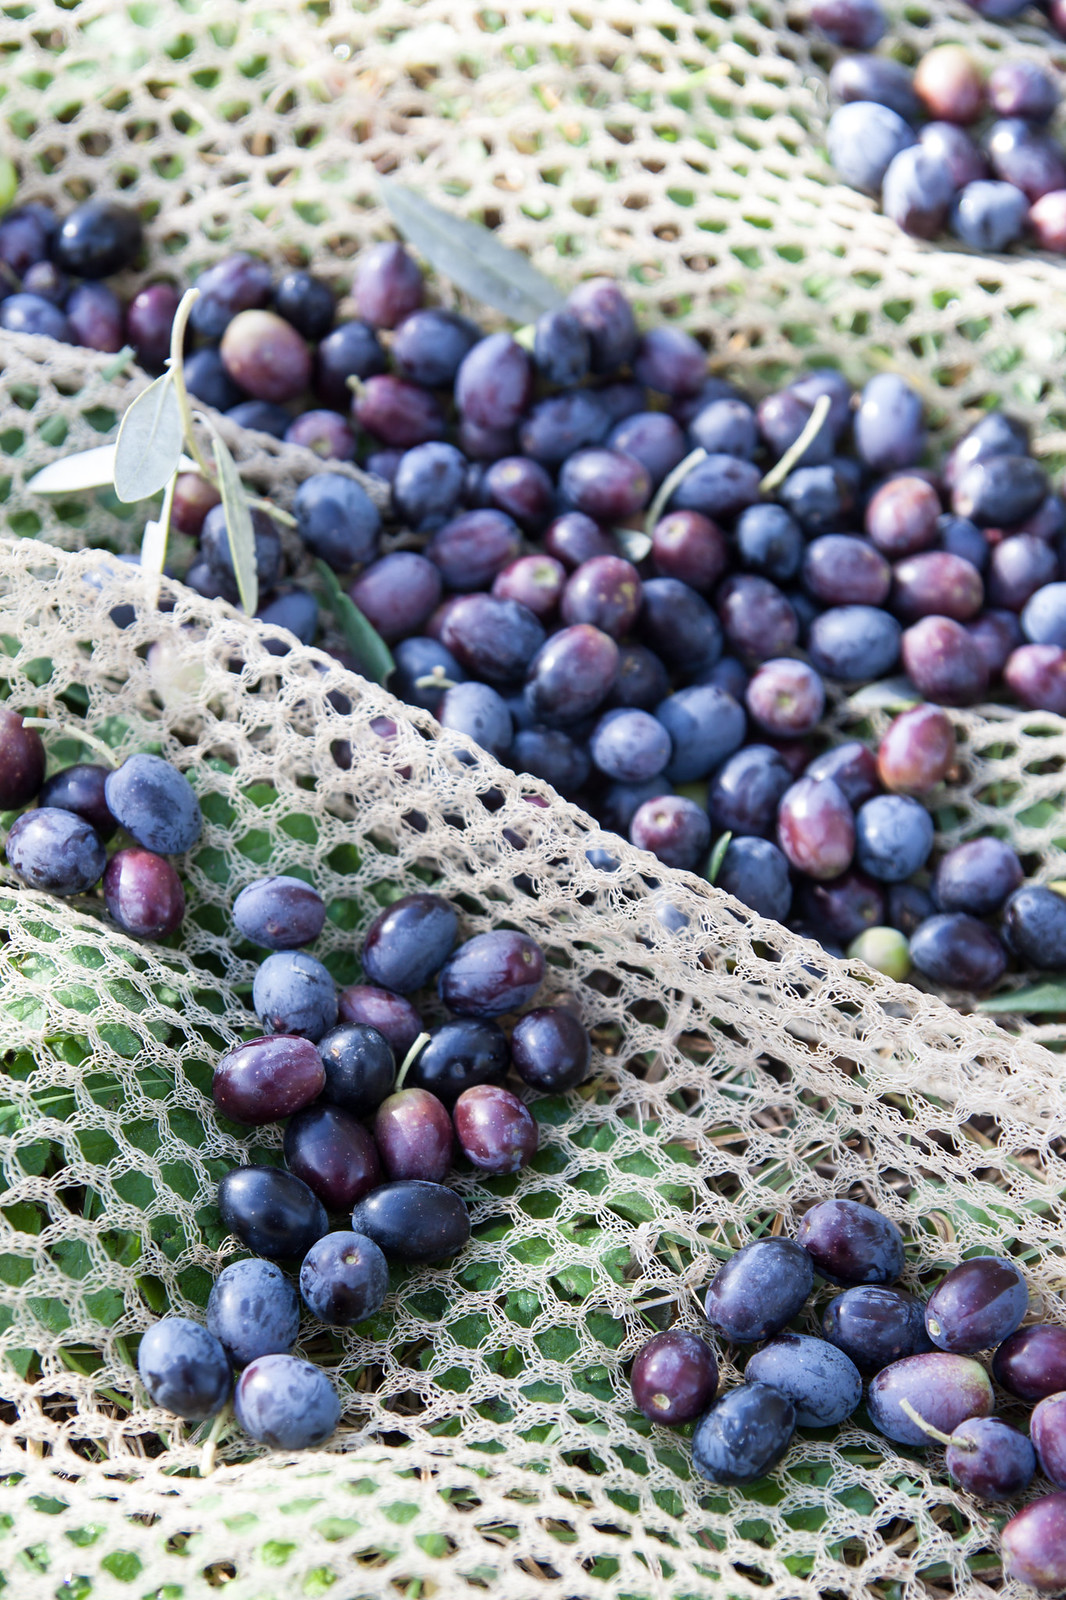
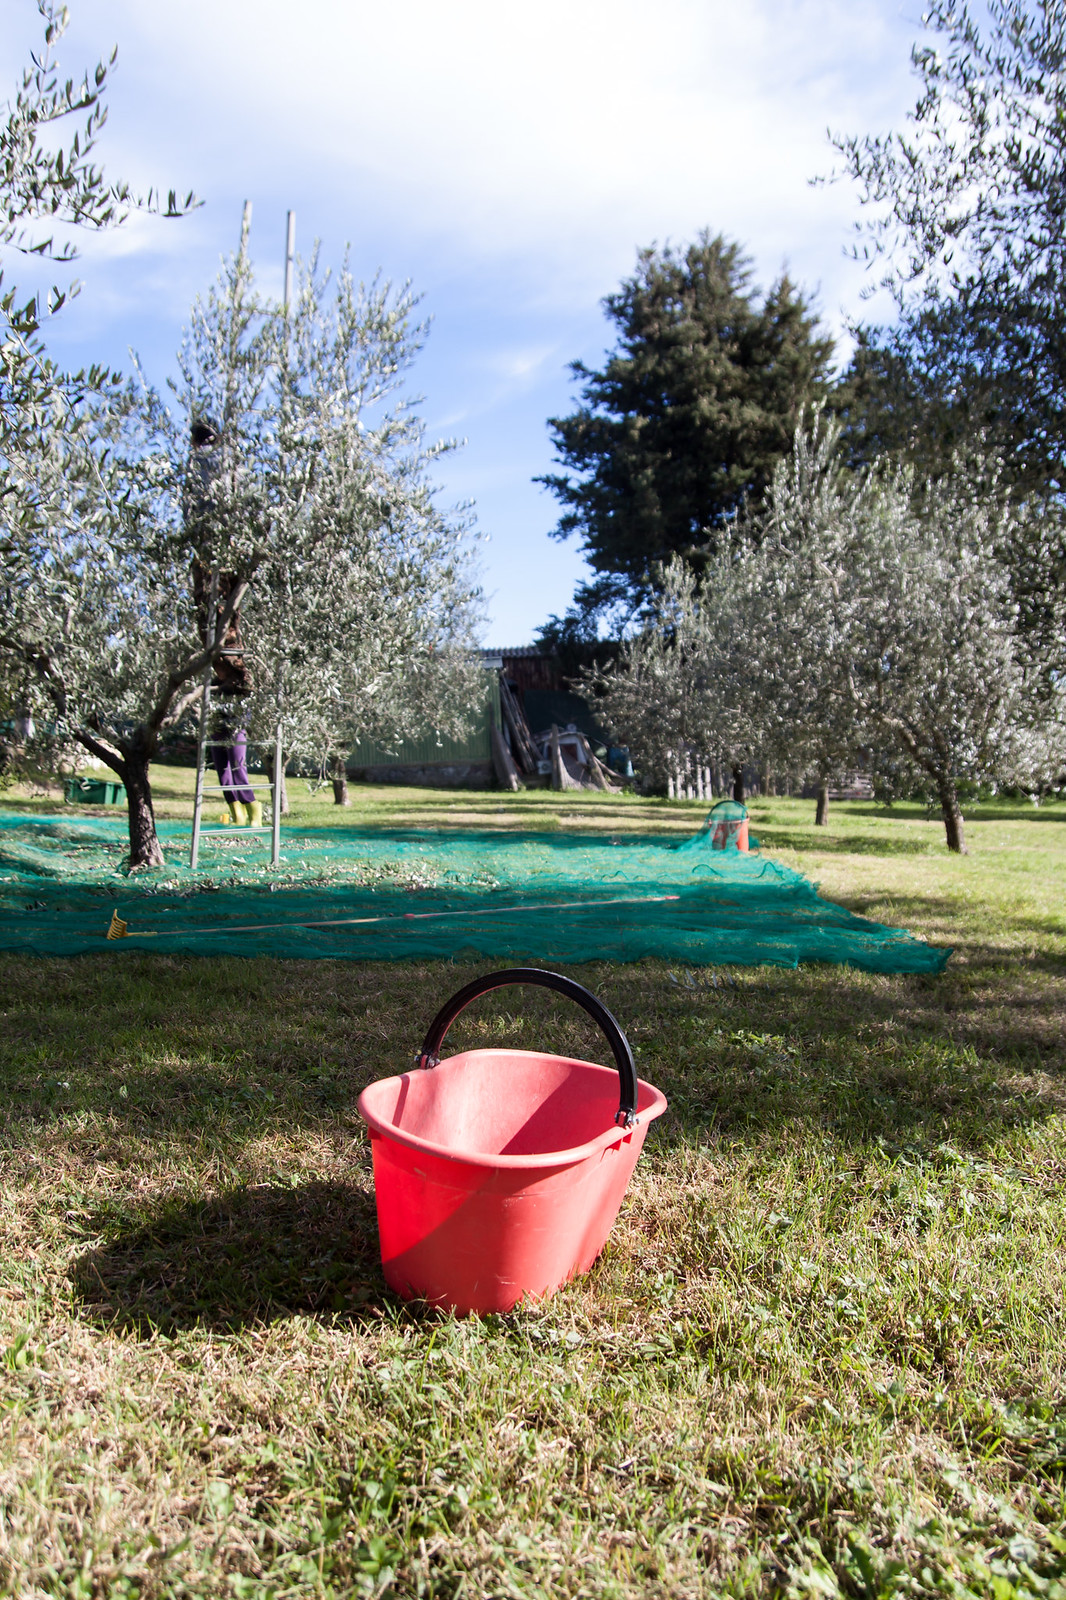
    The olives are harvested by hand, at most with the help of a plastic rake with which you comb the olive tree branches so that the ripe olives fall to the ground on a net spread all around the trees. The olive harvest is less joyous and festive of the grape harvest, since outside the temperatures are already more rigid and often the wind makes you wish to be in a completely different place, not on a ladder with your head completely stuck inside the olive tree.
    Yet it has its own charm, its fascinating tradition. I must admit I would rather spend the morning in the kitchen making bread soup and roast meat for the workers than balanced on a ladder, but from what my grandmother told me there were no discounts, when it was time to pick olives everyone was summoned, every day without rain was a good day if you wanted to finish before Christmas.
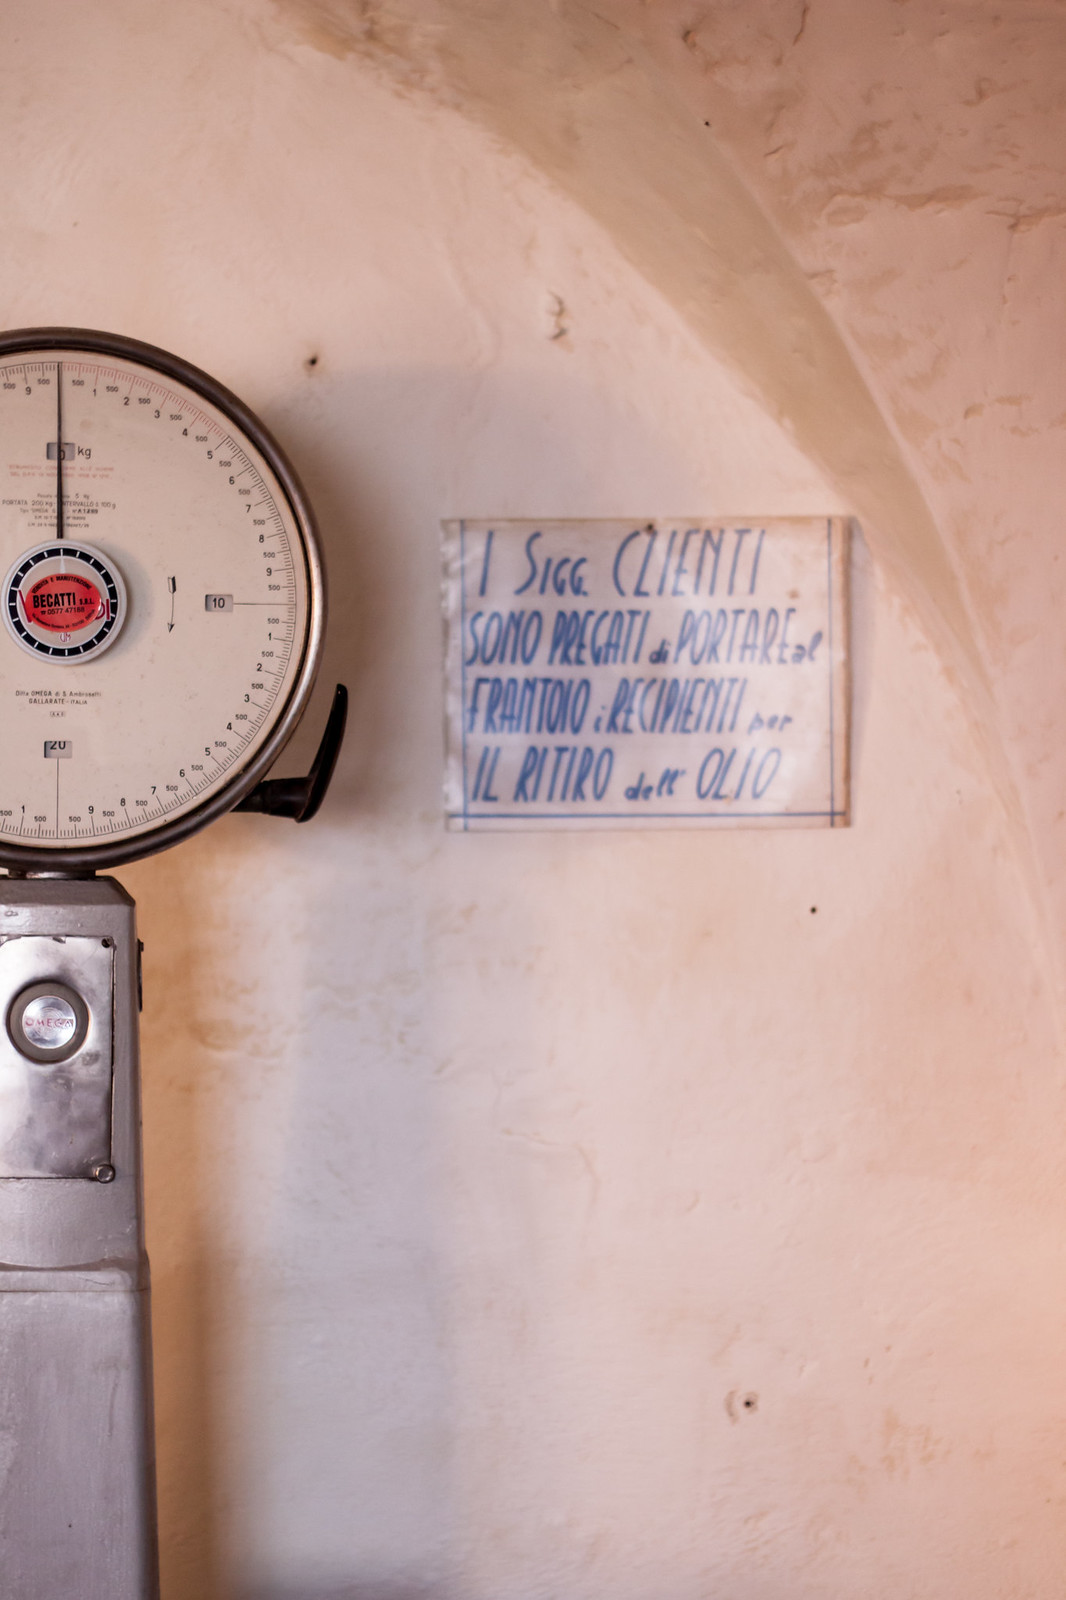
    My great-grandfather Piero used to bring the olives to the mill of Casole with a cart and a horse and he would spend the whole day there, coming back really late in the night, to make sure everything was done properly. This year with dad and Claudia we went back to the same olive mill, a frantoio, filling up the trunk of our two cars. Modern times.
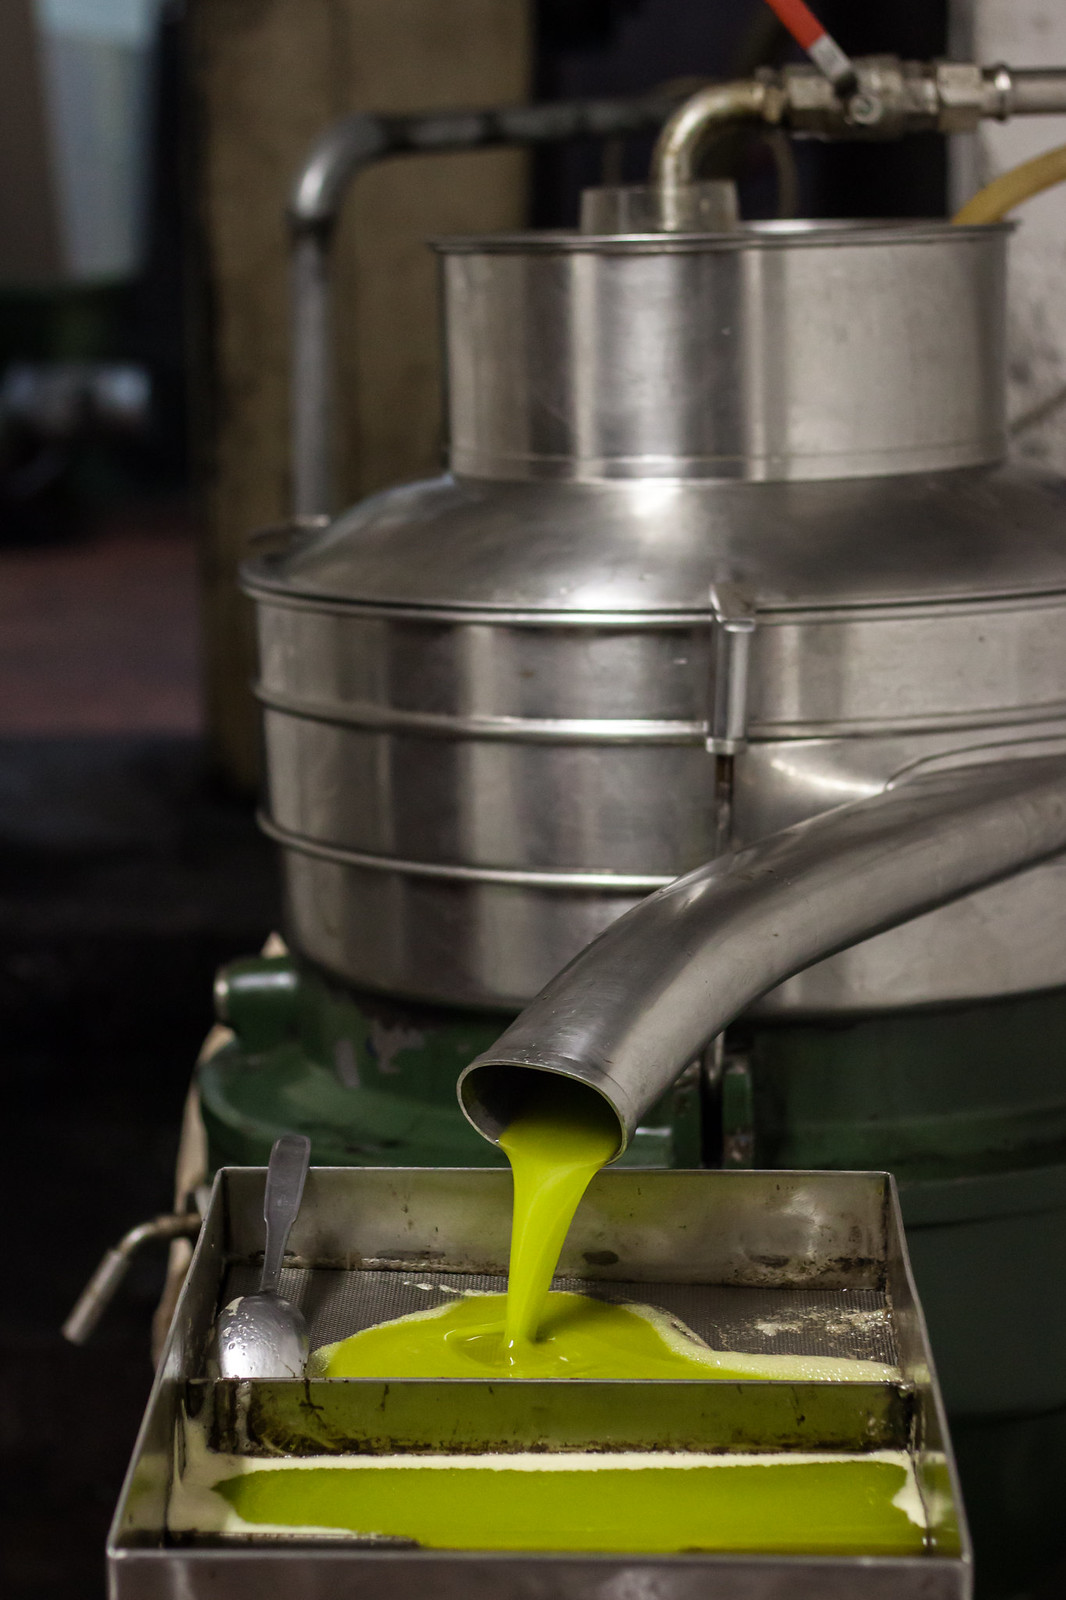
    Although times have changed, my dad spent the whole afternoon there, checking our olives, talking with the other people there, making the line waiting for our turn and enjoying a bruschetta at the end of the day. The olives are cleaned by removing the leaves, crushed and then milled, pressed to remove the water, and at the end of the process, after forty minutes, here you have your olive oil, green, dense, fragrant and unfiltered.
          
    The first thing you think of is bruschetta, then immediately you take your olive oil and weigh it, to understand how much it yielded this year. This is where the strange and grammatically incorrect sentence comes into the scene, a most incomprehensible dialect expression. Quest’anno ha reso delle quattordici e quattro. This year it yields of the fourteen and four, that is we had 14.4 kg of olive oil every ton of olives. I know, it is not correct, though if you don’t want to sound like a newcomer you have to use it, too.
    We brought home the olive oil, with no other definition or labels. It is the same that was happening with wine until about thirty years ago: it was wine, it was the peasants’ wine, red or white. Now everyone is talking about grape varieties, terroir, food matching… we should do the same with olive oil, we should be able to recognize the differences, to combine the olive oil just with the right dish, so that it does not cover the flavour of your dish with its spicy or bitter aftertaste, but uplifts it to another level of perfection.

    There are DOPs*, cultivars, different olive oils that have distinctly different aromas, colours and flavours. Just imagine, if you are well trained you can recognize and taste bitter almond, tomato leaves, freshly cut grass, artichoke… it’s a whole range of flavours that tickle your palate and enhance the food. To quickly understand the differences, it would be enough to start buying a few bottles of good olive oil from different Italian regions, and see how it changes even the experience of a simple salad.
    I’ll say it once, and then I won’t say it again: my favourite olive oil is the Sicilian one, I have a soft spot for Nocellara del Belice … but try a also a Tuscan olive oil (you owe me), an Umbrian or an olive oil from Brisighella, the Apulian olive oil made from coratina (oh how I love it drizzled over burrata), a light Ligurian or another light olive oil from Lake of Garda … I stop here, but just name an olive grove region and you will have a great olive oil that is worth trying.
    But I had promised black olives…
    * Denominazione d’Origine Protetta – is the Italian certification of authenticity of origin, valid for olive oil and many other products, such as cheese, salami… It is like the wine DOC.
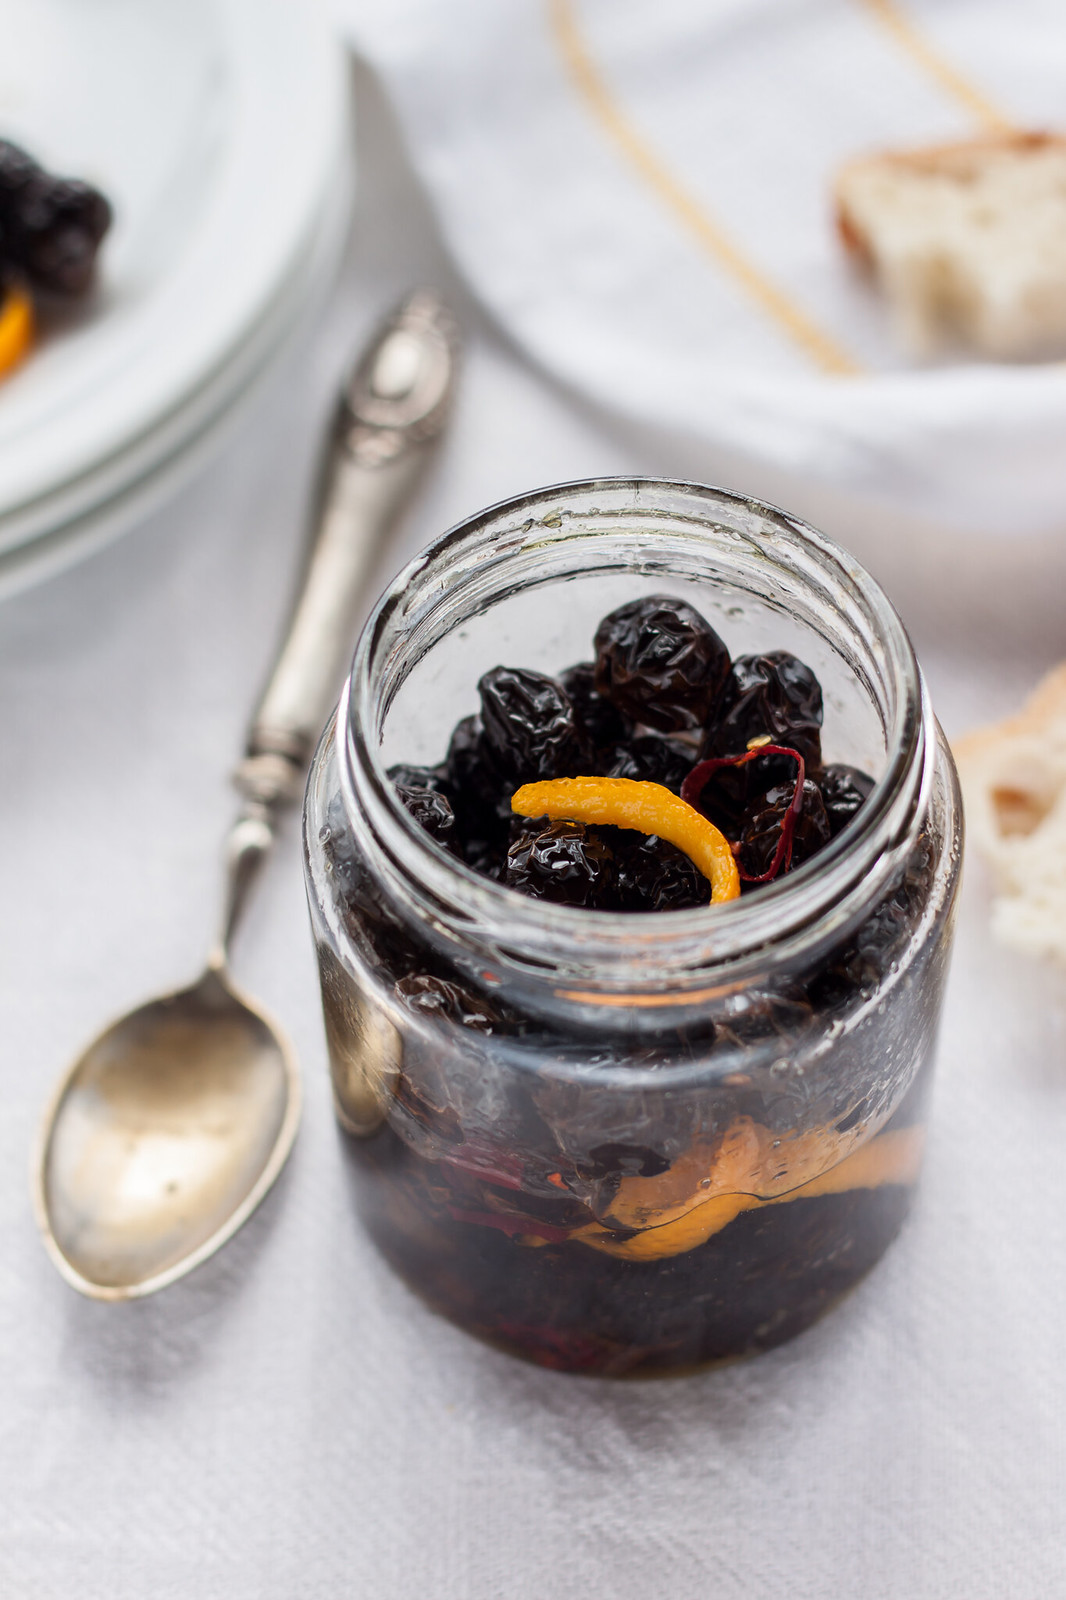
    My great-grandmother would pick the best black olives during the olive harvest, then she would dry them in the wood stove oven and keep them in a paper bag. They used to eat the dried olives plain with a slice of crusty bread, it was a lunch that wouldn’t take away much time and that would give them enough calories to deal with the rest of the daily tasks.
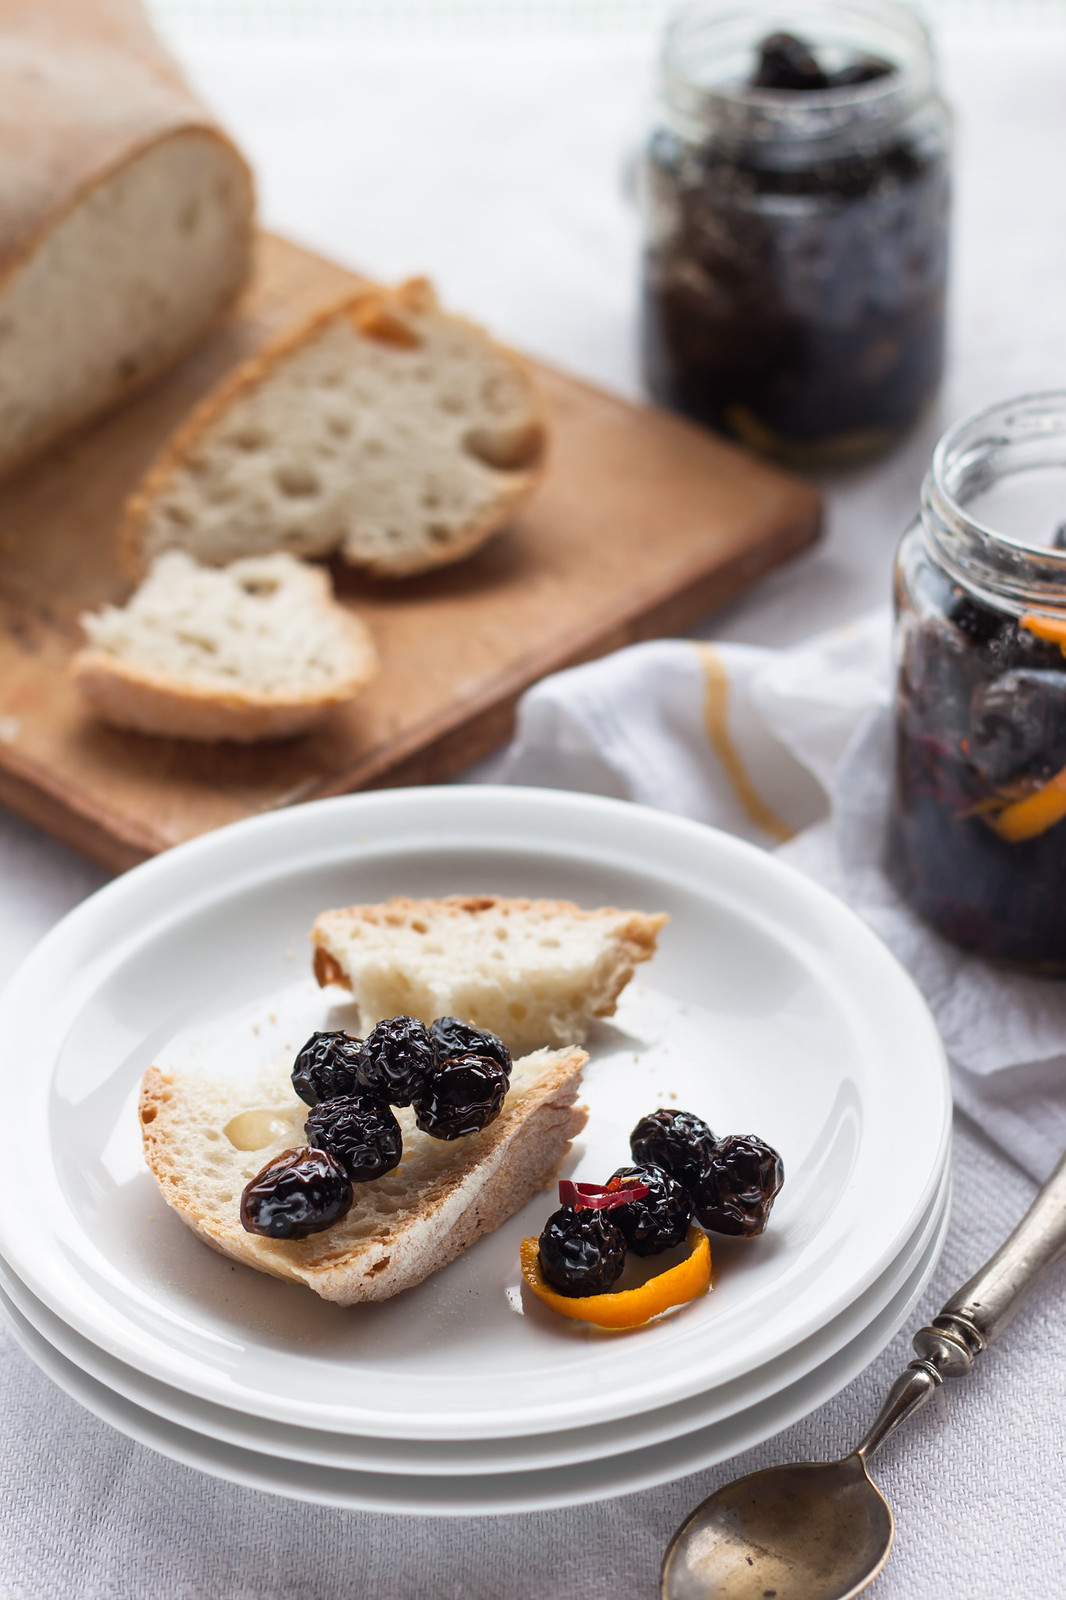
    A neighbour suggested to my grandmother yet another method to preserve the olives: they not only were dried, but they were also kept in a jar with olive oil, which softens them a little bit, garlic, chilli and orange peel. It is apparently a Southern recipe, and you can actually recognize the warmth and flavours of the Mediterranean area.
    Keep some jars of dried black olives in the pantry and serve them as unusual appetizer along with a cheese board or use them to enrich a pasta dish, a farro salad in summer or a winter stew.
    5.0 from 4 reviews
    Dried black olives
    Author: 
    Recipe type: Preserve
    Cuisine: Italian
    You'll need
    • Black olives
    • Salt
    • Extra virgin olive oil
    • Chili peppers
    • Garlic
    • Orange peel
    How to make it
    1. Choose sound black olives, rinse under running water and put in a large bowl.
    2. Bring to the boil a large pot of salted water, then pour it over the olives and let soak for ten minutes, then rinse and drain.
    3. Arrange the olives on a baking sheet in a single layer and dry completely. You can place the tray next to the fireplace for a few days until the olives are completely wrinkled and dried or you can use the residual heat of the oven, after you baked a pizza, a roast or a cake for example. Alternatively, you can also turn on the oven and heat it to 100°C, then leave the olive inside until they are dry, as in the picture.
    4. When, after a few days, the olives are ready put them in a glass jar with a pinch of salt, thinly sliced chilli pepper, a clove of garlic and a few tablespoons of extra virgin olive oil. Close the jar and shake to evenly distribute the seasonings.
    5. Let it rest for a few weeks before eating, shaking often the jar. It can be stored for several months in the pantry.
    Link love
    Not to lose a single post by the Italian Table talk girls, these are our Social Accounts:
    The hashtag to follow the conversation on Italian Table talk on Twitter is #ITabletalk (easy, isn’t it?). We are curious to hear your voices, to find out what olive oil is for you, if you have recipes to share or if you just love olive oil like we do!
    Sharing is caring: